As an Amazon Associate I earn from qualifying purchases.
Buying compost was too expensive for me. So I decided to start composting on my own. A composting tumbler was too expensive though so I decided to make my own Bokashi buckets and start an outside compost heap.
I thought that I was done spending money on my composting journey and I could finally start reaping the rewards.
Little did I realize that having several bokashi buckets, I’d be burning through bokashi bran as fast as I could order it.
The solution? Make my own bokashi bran of course!
Learning how to make bokashi bran turned out to not only be a simple money-saving process but pretty darn fun as well!
If you follow the following steps you’ll be able to have a batch of DIY bran ready to go into your buckets in as little as two weeks! Let’s do this!
What You’ll Need To Make Bokashi Bran

- A simple carbohydrate. Any simple carbohydrate source will work as this is essentially food for the bokashi microbes. When they have an ample food supply, they multiply. I use molasses but you can also use sugar, syrup, etc.
- Water. Without water, bokashi microbes either die or go into a dormant state. They are able to move around, eat, and multiple when they are in a wet environment (typically 40-60% water).
- Bran. Many people are stuck on wheat bran (as that’s what commercial bokashi bran typically uses) but you can use almost any carbohydrate. The function of bran is simply to provide a home for the bacteria to cover and live on. Anything that is a bit porous (so that it can soak up water) and has a lot of surface area will work. I’ve made successful batches with rice husks, newspaper, shredded cardboard, coffee grounds, and more!
- Essential Microbes (EM-1). Essential Microbes are the heart and soul of the bokashi process. Without them, your scraps will just sit in the bucket and rot. Some people attempt to breed their own strains but, in my experience, this always ends with less consistent and effective results. EM-1 can be purchased on Amazon and a small bottle typically lasts for months.

- A mixing vessel. You’ll be squishing the mixture around (I use my hands) so be sure that whatever you choose can hold your bran while still providing mixing space. I typically use a 5-gallon bucket for my batches.
- An airtight container. After it is mixed, your bran will need to be sealed and left to sit for around two weeks so that the microbes can multiply and fully inoculate the bran. I typically stick a lid on my bucket but you can also just reuse a plastic grocery bag and tightly tie off the top.
The amounts needed for one batch:
While a batch can be made any size (provided you have the proper ratio) it’s important to remember that you’ll need space to adequately mix the flake material and then either dry or store it.
The basic ratio is: 1 tbsp EM-1, 1 tbsp food source, 2 cups water, 2lbs flake material.
So my batch typically looks like this:
- 2 tbsp EM-1
- 2 tbsp blackstrap molasses
- 4 cups water
- 4lbs wheat bran
My Process For DIY Bokashi Bran
If you’re gathered everything up, let’s do this!
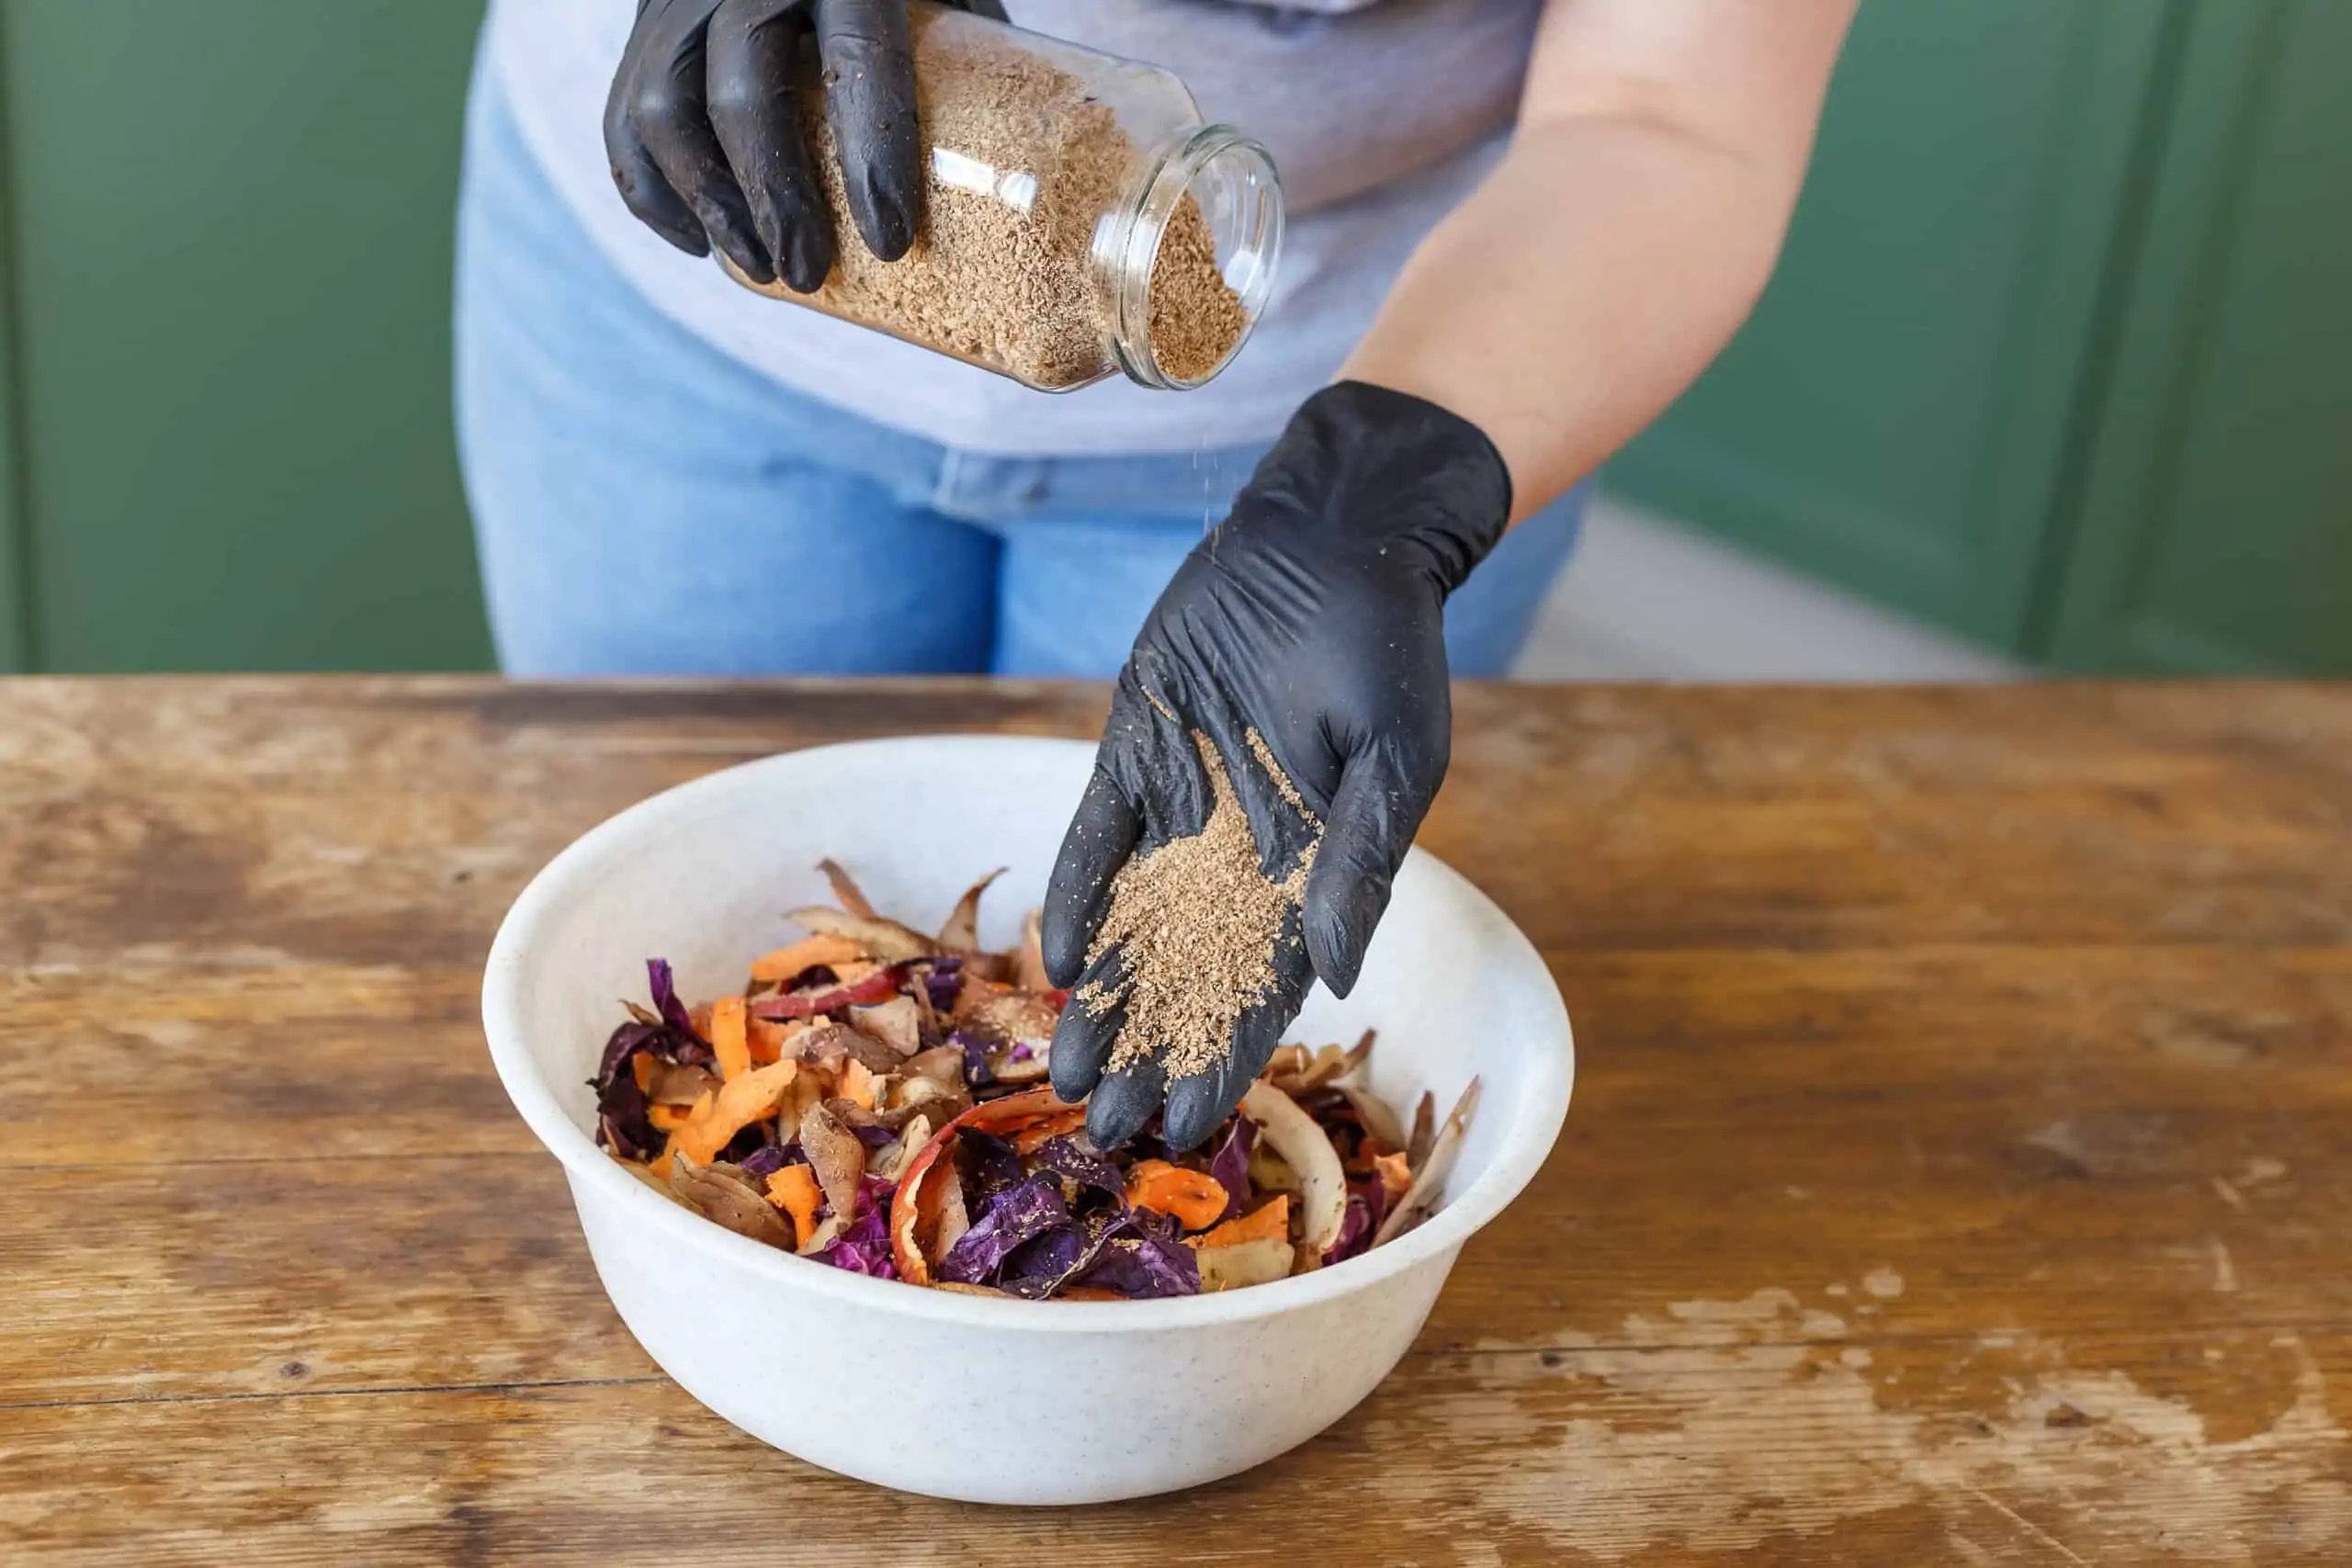
- Mix your sugary food source into lukewarm water. I typically use lukewarm water simply because it’s less shocking for both my hands and the microbes. You’ll need to combine these in something besides your mixing vessel because we’ll want to add the water to the bran bit by bit.
- Add EM-1 to your water/sugar mixture.
- Dump your bran/flake material into your mixing bucket.
- Add 3/4 of the water to the mixing bucket. Use your hand to work the water through the bran. Try for even wetness.
- Keep adding water until you reach the desired consistency. The perfect consistency for homemade bokashi bran is similar to oatmeal cookie dough. You want it to be thoroughly moist and stick together when you squeeze it into a ball. If water drips out, it is too moist. If you overshoot, you can add a bit more bran to bring it back into balance. Don’t stress about it being perfect.
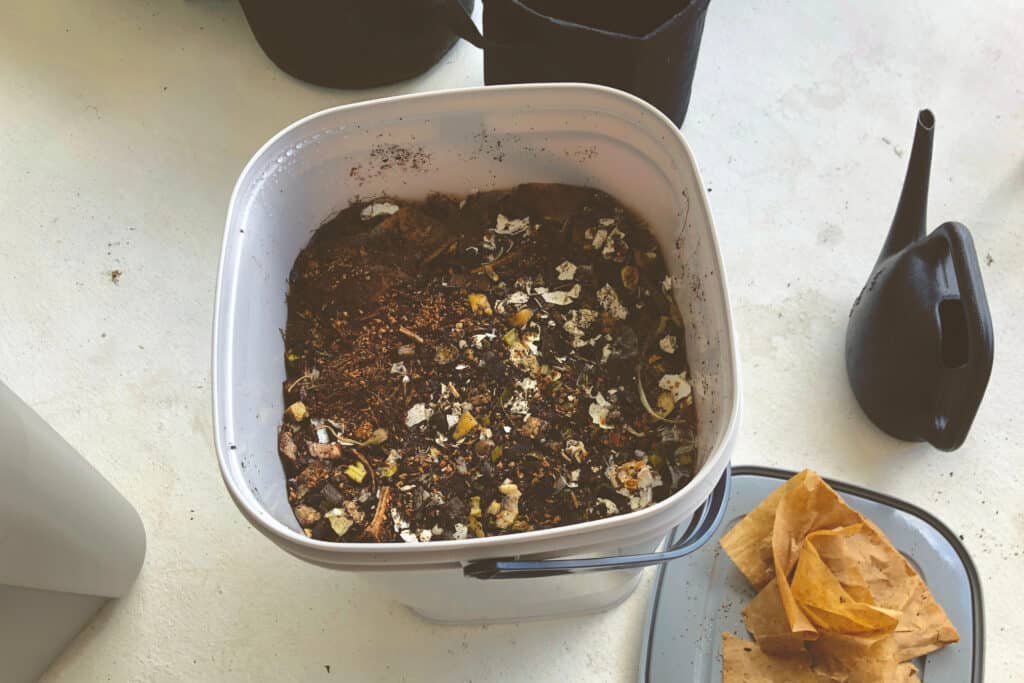
- Place the mixture into your airtight container. While I’m typically lazy and use a bucket, a bag may be more advantageous as it allows you to remove excess air before sealing it.
- Place the container in a cool dark place for two weeks. Do not open the container! If the microbes are able to proliferate undisturbed, they will spend the two weeks fermenting the flakes until it is fully inoculated.
- Open the container and use your finished bokashi bran! When you open the container your bran should have a sweet fermented smell that some people compare to apple cider or activated yeast. If it smells terrible or you see any mold that isn’t white, something went wrong. Dump the batch (preferably onto your outdoor compost pile) and start over. White mold is fine.
Drying Your Homemade Bokashi Bran
Unless you made a squirrel’s portion, you’ll likely have to dry the majority of your bran so it doesn’t go bad before you can use it.
The only caution I will give you here is to be gentle with your microbes. If you attempt to dry them too vigorously (such as in the oven or direct sunlight) you’ll end up killing the microbes rather than sending them into a dormant state.
The best method that I have found is to simply spread the bran out on a table or a tarp. You can do this either inside or outside but, if you choose outside, be sure to keep it out of intense sunlight.
The trick is to find the balance between it staying wet in the open air for too long (which fosters the wrong bacteria) and drying it too quickly which harms your EM-1 growth.
Once your bran is dry, scoop it up and store it in a bag or similar container until you’re ready to call upon it for service.
It will last the longest (eg be the most effective) if you store it in an airtight environment.
Storing Bokashi Bran (How Long Is It Good For?)
Once your homemade bokashi bran is fully aged for two weeks you can start using it immediately. If you don’t want to dry it, it can be kept for up to
Dry bokashi bran can be stored for 1-2 years without losing effectiveness. To maximize longevity it should be stored in an airtight container that is located in a cool dry place. These conditions work to keep the effective microbes in a dormant state.
If your bokashi bran is wet it should be re-dried or used within 2 weeks to avoid spoilage.
Other Uses For Bokashi Bran
Since Bokashi Bran is simply a vehicle for microbes you can use Bokashi for almost anything that EM-1 can be used for (and it has lots of uses).
If you have an excess of inoculated bran, consider a few of these uses:
- Add it to compost. Bokashi bran can boost the microbial activity in your compost pile or tumbler which acts as a compost accelerator. Bokashi bran can also expedite in-ground composting.
- Use it as a livestock probiotic. Bokashi Bran can function to improve digestion, re-balance gut flora, and boost the immune system in livestock.
- Amend your soil with it. The two main reasons to make bokashi compost are to handle waste and create a soil amendment. If you don’t have many kitchen scraps to compost, cut out the middle man and add bokashi bran straight to your soil to unlock the nutritional content already in the soil.
- Reduce smell and waste in animal pens. EM-1 can help reduce acidity (and therefore smell) in dog pens, chicken coops, etc. Simply spreading it over the ground (or the poop) lets the microbes start breakings things down (instead of letting it purify in the sun).
- Add it to grass or plants. Adding it to your lawn in small amounts before watering can boost the nutritional content available for your grass. The optimum pH for soil is slightly acidic (between 6.0 and 7.0) so be sure not to add too much.
Do I have to have EM-1 to Make Bokashi Bran?
While it is possible to make bokashi bran without EM serum, it’s not something I’d recommend for most people.
Making your own culture requires you to harvest microbes from existing sources and following the above process to help them multiply. The problem is, you never know exactly what you’re going to get. Some people have luck using rice bran to create a culture but, when I’ve tried it, I’ve gotten the wrong colors of mold at the end which means the culture was not conducive to Bokashi.
If you’re just learning how to make bokashi bran it is much easier to get a reliable and repeatable result by simply using an EM-1 inoculant that contains the exact bokashi-relevant bacteria that you need.
Conclusion
At the end of the day, learning how to make Bokashi bran at home is simply a matter of jumping in and trying it. Don’t be intimidated by all of the steps, I did my best to be thorough but it’s a fairly difficult process to mess up.
So get mixing and get composting!
Other Articles You’ll Enjoy
Can You Compost Oats? (A Guide to Oatmeal and Oat Products)
At A GlanceYes, you can compost oats and oatmeal as they are organic materials that…
Can You Compost Oil? (Yes, but only a little…)
At A GlanceIt’s not recommended to compost oil as it can cause several issues in…
Composting Nectarine Pits – What You Need to Know
At A GlanceComposting nectarine pits can be a bit challenging due to their hard and…
Composting Newspaper with Color Ink – What You Need to Know
At A GlanceYes, you can compost newspaper with color ink, but it’s preferable if the…
Can You Compost Noodles? A Starchy Foods Composting Guide
At A GlanceYes, you can compost noodles as they are a biodegradable organic matter. Whether…
Can You Compost Nut Shells? (Yes…but probably don’t…)
At A GlanceYes, you can compost nut shells, but there are certain considerations to be…