As an Amazon Associate I earn from qualifying purchases.
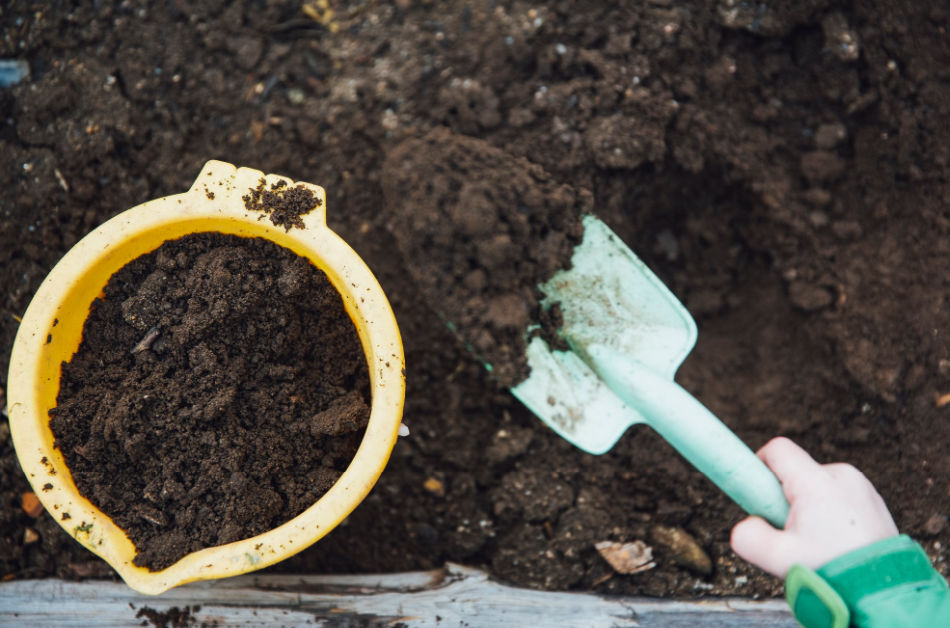
When my wife and I moved into our current house we were super excited to plant a garden. That is until we saw the soil. Sandy soil with nothing at all to offer vegetable plants. We knew that it would need some serious amending to start producing well for us and composting would be the answer.
The problem is, how long does it take to make compost and amend the soil in a large space?
Well, the answer really depends on how good you are at composting. Reaping the rewards of composting kitchen scraps and yard waste can only happen if you, first off, know how long it takes to make compost and, secondly, know how to speed it up.
In this article, we’ll break down the two best ways of making homemade compost that anyone can do, as well as take you through the entire step-by-step process for both methods. It’ll cover the materials, what to do and when, as well as tips on getting the best results.
Your Method Of Composting (Fast or Slow)
The method of composting you choose will dictate how long it takes to make compost. Hot composting can make a usable product as quickly as 5-6 weeks while cold composting may take a full year to see results.
So, the question is, how much of an investment of physical energy and time are you willing to give?
The Short Method (5 – 6 weeks)
For the short method, you can use a compost pile, bin, or tumbler. This one will have you the most involved in terms of the labor you’ll need to do in creating the compost, as well as paying attention to the compost in the pile or bin every few days. This method is best for those seeking to use their homemade compost as quickly as possible.
The Long Method (up to 12 months)
The long method also involves a pile or a bin, but this one requires little investment of your time as you don’t need to pay attention to the bin or pile. You will constantly add layers of kitchen leftovers and scraps on top of the layers of leaves and grass clippings. The reason why this can take up to 12 months is that you are leaving it up to nature to break down and mix these crucial ingredients. This method is best for those who don’t do regular garden maintenance or those that don’t need homemade compost as soon as possible for plants, vegetables, and flowers.
If, however, you don’t have a lot of time to dedicate to your compost, this can still be a great option. Check out our article Laziest Possible Composting to see how effective it can still be.
These timeframes can be reduced through careful planning and smart thinking.
How Can I Compost Faster?
The simplest advice we can give you when wanting to speed up the composting process is to make sure you create what is called a “hot” compost pile. A “hot” compost pile is made by creating either an area of one cubic meter (or 3x3x3 feet) or using an extra-large compost bin that fits these dimensions.
The reason why you want a compost area of this size is that it allows the internal pile temperature to reach the desired 55-65 degrees Celsius (115-125 Fahrenheit). At this temperature, it kills off any bad bugs and pathogens which could harm your plants without destroying the biology that will bring benefits to your garden – after all, this is the reason why you want to use compost.
If you choose to have a smaller area than this, it will be known as a “cold” compost pile. The reason for this is that the internal temperatures don’t reach the required levels. This is the reason why this style involves slowly adding food scraps, grass clippings, and other waste every few days.
We will now look at some tips and advice on how you can set up a “hot” compost pile so that you can get your finished DIY compost in less time.
These steps include:
- Choosing the correct materials.
- Sizing them correctly.
- Using pre-made compost.
- Mixing the pile.
- Adding the right amount of water.
- Checking the temperature.
- Turning the pile
- Continuing to add materials.
- Separating the compost.
1. Choose The Correct Composting Materials

You want to make sure that you plan so that you can have the correct mix of materials so that you create the best homemade compost. You need an even mix of “browns” and “greens.”
Brown materials mean things such as dried leaves, twigs, wooden branches, acorns, and other such materials. This tends to be the material that most people run out of during the whole process – so remember you can always add things such as shredded newspaper and cardboard to stand in for natural browns. They’ll have the same effect.
Green materials are grass clippings and garden waste such as dead vegetables. It also includes waste from your kitchen such as fruit and vegetable scraps or spoilt foods. As you are constantly creating waste inside and outside of the kitchen, you are more likely to have more green materials available all year round.
2. Size The Materials Correctly
When you add your brown and green materials, you need to cut them down to the smallest size possible. For garden waste, it can be as simple as running them over with a lawnmower or using a leaf blower that shreds the waste. For branches or twigs that are too big, you can use shears or clippers to cut them down to size. A wood chipper is the best device to use, but don’t worry if you don’t have access to one.
For your kitchen waste, cut down the scraps with scissors or a knife. Some people opt for dedicating a blender to shred them to a pulpy waste. This would work the best as smaller materials break down faster in the compost pile and therefore will speed up the process.
3. Using Pre-Made Compost
I highly recommend you use existing compost – either your own or buy a pre-made compost starter. This is because pre-made compost has active bacteria and microbes that are needed to start the composting process. This helps the pile to start breaking down materials faster and therefore get you your finished homemade compost quicker! The cherry on top of this step is that you only need to purchase the pre-made compost starter once, as next time you’ll have compost from your previous batch that will do the same thing.
4. Mix In New Ingredients
A lot of composting beginners forget this crucial step. Make sure to mix the pile with a shovel, pitchfork, or other tools you think would do the job best. You do this by turning the materials several times to ensure that the bacteria and materials are getting a good spread. This also helps to feed oxygen to the mixture which will also speed up the composting process.
5. Add The Right Amount Of Water
Once you have created your pile, make sure that you use a hose or watering can to feed enough water so that it becomes damp. If you do this, the bacteria and microbes will be able to work more efficiently and break down the materials faster. A rough estimate for a “hot” compost pile is 18-22 liters (5-6 gallons) of water.
6. Check The Temperature
Every couple of days make sure you check the temperature of the pile to make sure that it is in the “hot” compost range. You do this by using a compost thermometer and measuring the center of the pile or bin. If the temperature is not “hot”, then you need to turn the pile.
7. Turn The Pile Regularly
Turning the pile is the process of making sure you are constantly mixing and remixing the materials so that you are bringing more of them to the center of the compost pile. This is because the center of the pile is where the microbes and bacteria will be working the most. All you need to do is to repeat this process every couple of days until the temperature hits the “hot range.” After this, make sure to keep checking the temperature and adding in just enough water to keep it moist.
8. Continue To Add Materials.
After several weeks of having your homemade compost pile, you’ll notice that it will start to shrink. This is because the center materials are being broken down and turned into compost. At this stage, start adding fresh compost materials and scraps to the pile and mixing them thoroughly to start the breakdown process again. Eventually, you’ll notice more and more of a substance that resembles soil and not the waste you added. Now it’s time to separate the finished DIY compost.
9. Separate The Compost
In this step (usually 5-6 weeks), all you need to do is use a shovel or pitchfork and separate the soil substance (the compost) and the materials which are still recognizable (grass, leaves, kitchen waste). Remove the homemade compost so that it is ready for use and use the other materials in your new compost pile. Remember to use some of your compost to start the process faster for your new compost pile.
A final tip here is that you can let the newly made DIY compost mature over a week or two before using it, but feel free to use it straight away.
Conclusion
You’ll now have a fresh, earthy-smelling compost that is ready to be mixed in with your soil to give your plants, vegetables, and flowers the nutrition they deserve. We hope that this has helped you with simple tips to follow. Now that you know how long it takes to make compost, we’d love to hear from you if you have any questions or would like to share your composting journey with us!