As an Amazon Associate I earn from qualifying purchases.
Composting is a sustainable and eco-friendly practice that is not only beneficial to your garden but also helps reduce landfill waste. One efficient solution for small-scale composting at home is the use of a five-gallon bucket. This compact composting system is easy to maintain, making it an excellent choice for beginners and those with minimal outdoor space.
A five-gallon bucket compost offers simplicity and flexibility as it can be conveniently placed in various locations such as backyards, balconies, or even indoors when properly managed.
This composting method allows you to turn kitchen scraps and yard waste into nutrient-rich organic matter which can be used to fertilize your plants, improve soil structure, and promote healthy plant growth. Keep reading to learn the steps and materials needed to set up and maintain a successful five-gallon bucket compost system.
Composting Basics
Compost
Compost is a natural, nutrient-rich soil amendment created from decomposed organic matter. It enhances soil structure, promotes healthy plant growth, and reduces the need for chemical fertilizers. Composting is an eco-friendly way to recycle organic waste into valuable soil nutrients.
Organic Matter
Organic matter consists of plant and animal materials in various stages of decomposition. It is crucial in maintaining soil fertility and supporting microbial life. Examples of organic matter include leaves, grass clippings, fruit and vegetable scraps, coffee grounds, and eggshells. When added to compost, organic matter breaks down into humus, which improves soil structure and nutrient content.
Decomposition
Decomposition is the process of breaking down organic matter into its constituent parts. Microorganisms, such as bacteria and fungi, play a vital role in this process. They break down complex organic compounds into simpler substances that can be absorbed by plants. Decomposition occurs at different rates, depending on factors like temperature, moisture, and the composition of the organic matter.
Green and Brown Materials
Composting requires a balance of green and brown materials. Green materials are rich in nitrogen and provide essential proteins for microorganisms. Examples of green materials include grass clippings, fruit and vegetable scraps, and coffee grounds. On the other hand, brown materials are high in carbon and provide energy for the decomposers. These materials include dried leaves, straw, and small branches.
To achieve a successful composting process, combine green and brown materials at approximately a 1:2 ratio. This balance promotes decomposition and prevents unpleasant odors or slow breakdown. Regularly turning the compost mixture ensures even distribution of materials and accelerates the decomposition process. A well-maintained compost pile typically takes 3-6 months to produce usable compost.
Five-Gallon Bucket Composting
Drilling Holes
To kickstart your composting journey with a 5-gallon bucket, begin by drilling holes in the bottom and the lid. These holes will allow air to circulate, promoting aerobic decomposition and preventing mold growth. Use a standard drill and evenly space the holes to ensure proper aeration and drainage in your compost bin.
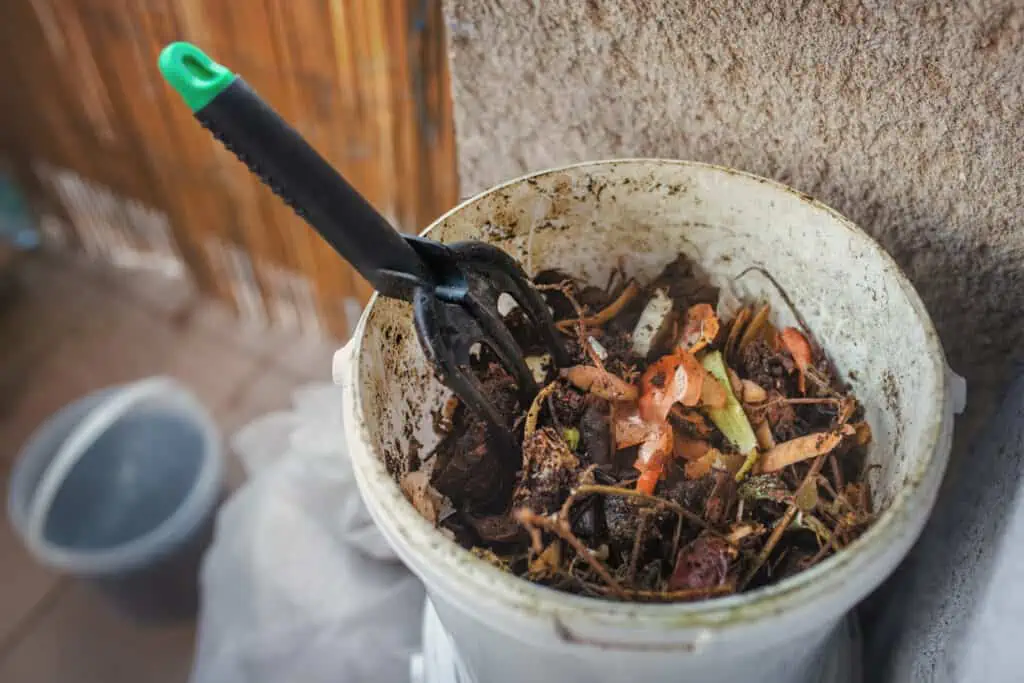
Materials for Your Compost Bin
Once you’ve drilled the holes, it’s time to gather materials to start composting:
- Drainage material: Place sticks, rocks, or other materials at the bottom of your bin to prevent drainage holes from becoming clogged with waste.
- Green matter: Acquire green waste such as grass clippings, fruit and vegetable scraps, and coffee grounds to provide necessary nitrogen.
- Brown matter: Collect brown waste like leaves, cardboard, paper, and straw, which are rich in carbon and help balance the compost ratio.
Layering Green and Brown Materials
Now that your 5-gallon bucket and materials are ready, follow these steps to create an ideal composting environment:
- Place your drainage material in the bottom of the bucket.
- Alternate layers of green and brown matter, approximately equal in thickness, to establish a balanced compost ratio.
- Ensure the compost remains moist but not drenched, as excessive water could lead to unpleasant smells and anaerobic decomposition.
Maintenance Tips
To keep your 5-gallon compost bin in optimal condition, follow these suggestions:
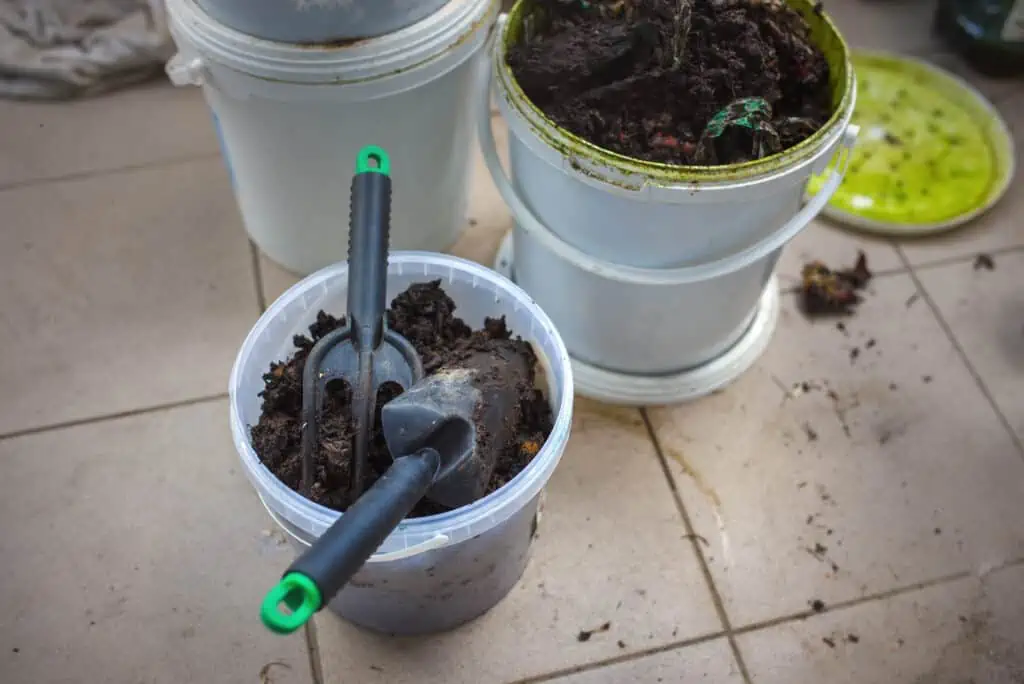
- Aerate: Regularly mix the contents of the bin to promote air circulation and speed up the decomposition process.
- Control moisture: If your compost becomes too wet, add more brown matter to soak up excess water. If it’s too dry, add small amounts of water to maintain the right level of moisture.
- Monitor smell: If your compost has a strong odor, increase the brown material to help balance the carbon-to-nitrogen ratio.
- Check drainage: Periodically inspect the bottom of your compost bin and ensure your drainage holes remain clear to prevent waterlogging.
By following these guidelines, you can create a thriving compost in a 5-gallon bucket.
Alternative Composting Methods
Vermicomposting
Vermicomposting is a process that involves using worms to break down organic waste materials, creating a nutrient-rich compost called vermicompost. Worm composting, or vermiculture, is a popular alternative to traditional composting methods as it can be done on a smaller scale and usually produces faster results.
One of the main advantages of vermicomposting is that it can be easily set up in a five-gallon bucket. In this method, you will primarily use red wrigglers (Eisenia fetida) as they are the most suitable worms for composting in a bucket environment. These worms can be easily purchased from online retailers. Be sure to maintain a balance of brown and green components in the bucket, as this is essential to optimize the vermicomposting process.
Bokashi Composting
Bokashi composting is another alternative method that utilizes a fermentation process to break down organic waste. Unlike vermicomposting, bokashi composting relies on anaerobic (airtight) conditions, which can make it an efficient option for those with limited outdoor space.
To create a bokashi composting system in a five-gallon bucket, you will need to first purchase bokashi bran, which contains beneficial microorganisms that aid in the fermentation process. Layer the organic waste along with the bokashi bran in the bucket, ensuring that each layer is compressed and that the air is removed to create an airtight environment.
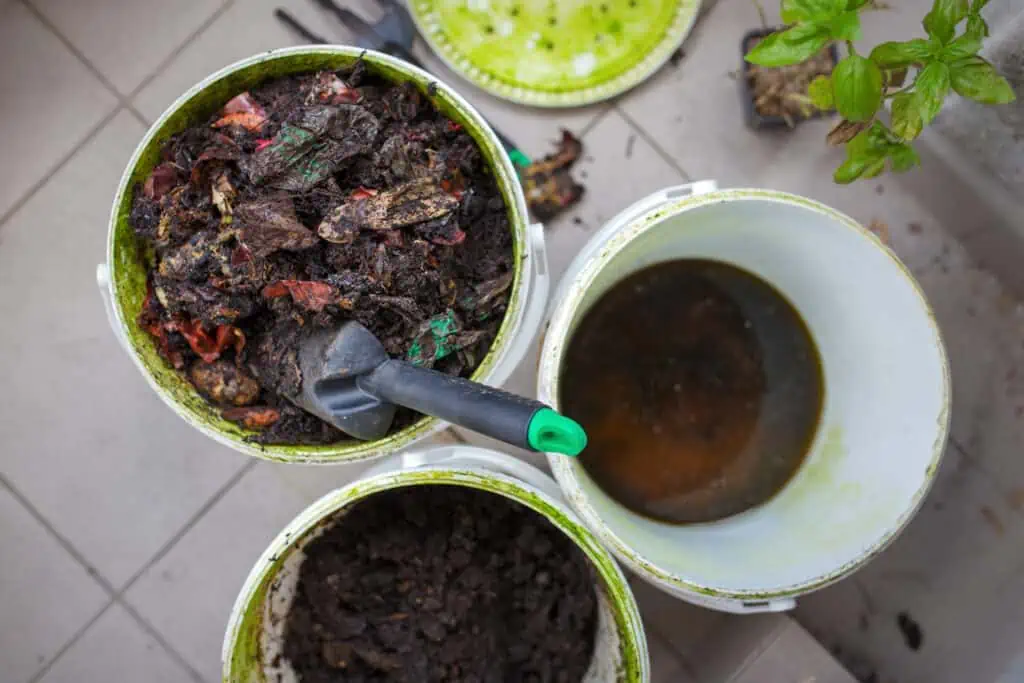
A bokashi bucket requires regular draining of the liquid produced during the process, as it prevents the organic material from rotting and emitting foul odors. Once the bucket is full, seal it tightly and let it ferment for about two weeks. After the fermentation period, you can bury the contents in the ground or incorporate them into an existing compost pile.
These alternative composting methods offer different advantages, allowing you to choose the one that best suits your needs and available resources. Establishing a successful vermicomposting or bokashi composting system in a five-gallon bucket is a practical and eco-friendly approach to managing household waste.
Compost Uses and Benefits
Nutrient Value
A key benefit of using compost is its high nutrient value. Compost provides essential nutrients like nitrogen, phosphorus, and potassium to improve soil fertility and structure. Moreover, it can enhance micronutrient availability, such as calcium, magnesium, and iron, which are necessary for plant growth. By adding compost to your garden soil or potting soil, you can create a more nutritious environment for your plants, promoting healthy growth and development.
Fertilizer for Plants
Compost serves as a natural fertilizer for various types of plants. When integrated into the soil, it slowly releases nutrients over time, allowing plants to absorb them at a steady rate. This eco-friendly alternative to chemical fertilizers is suitable for both indoor and outdoor plants and helps to improve soil consistency. The organic content in compost also increases water retention, drainage, and aeration, making for healthier soil that supports more robust plant growth.
Compost Tea
Another practical use for compost is to extract compost tea, a nutrient-rich liquid derived by steeping compost in water. This liquid can be used as a foliar spray or applied directly to the soil to provide an additional source of nutrients for your plants. Compost tea benefits include enhancing plant growth, providing resistance against disease, and improving overall ecosystem health. It serves as a valuable resource for both amateur and experienced gardeners looking to boost their gardening success.
In summary, compost is a valuable resource for gardeners and plant enthusiasts alike. Its nutrient-rich properties help enhance soil fertility, while also providing a natural fertilizer for a wide range of plants. Furthermore, compost tea serves as an additional way to bolster plant health, growth, and resistance to diseases, making it an essential tool for maintaining a successful and sustainable garden.
Do’s and Don’ts
Composting Materials
When it comes to composting in a 5-gallon bucket, it’s important to choose the right materials. Here’s a quick list of do’s and don’ts for composting materials:
- Do add fruit and veggie scraps, coffee grounds, and eggshells. These items provide nitrogen and break down quickly.
- Do add sawdust, newspapers, and other carbon-rich materials. These items balance the nitrogen content and help control odors.
- Don’t add meat, dairy, fish, bones, or fat to your compost. These items can cause bad odors and attract pests.
Avoiding Odors and Pests
To keep your compost pile smelling fresh and pest-free, follow these simple guidelines:
- Balance your compost materials: Make sure you’re mixing an equal amount of nitrogen-rich materials, like fruit and veggie scraps, with carbon-rich materials, like newspaper and sawdust.
- Aerate your compost regularly: Use a drill to add holes in the bucket and lid to promote air circulation and decomposition.
- Cover your compost with a layer of newspaper or sawdust to help absorb any excess moisture and reduce odors.
- Keep pests out: Make sure you’re using a tightly-fitting lid on your 5-gallon bucket to keep pests at bay.
- Place your compost bucket in a sunny spot and away from your home’s entry points to reduce the likelihood of pests making their way indoors.
By following these do’s and don’ts, you’ll be well on your way to creating a successful and efficient 5-gallon bucket compost. Follow this guide to support your DIY composting efforts and benefit both your garden and the environment.
Common Composting Issues
Lack of Airflow
One common issue people encounter when composting in a five-gallon bucket is a lack of airflow. Achieving proper airflow within a bucket composter is crucial for effective decomposition and to prevent unpleasant odors from forming. To ensure sufficient ventilation, drill several holes in the top, bottom, and sides of the bucket. Also, using materials like twigs or a small collection of sticks at the bottom of the bucket can help facilitate airflow.
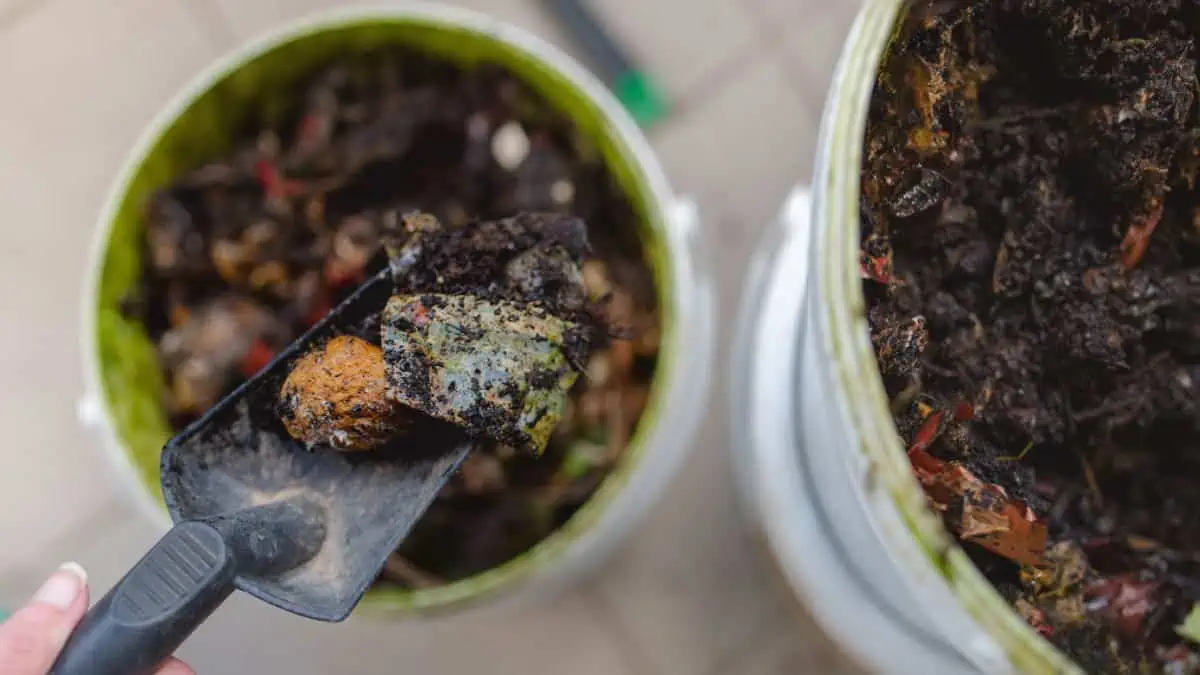
Incorrect Materials
Another problem that can arise in bucket composting is using incorrect or inappropriate materials. The balance of green and brown waste is essential for successful compost. Green waste includes materials such as fruit and vegetable scraps, coffee grounds, and garden clippings, while brown waste comprises items like straw, dried leaves, paper, and cardboard. It’s crucial to avoid adding dairy products, meats, or cooked foods that could produce odors and attract pests or lead to mold growth.
By maintaining a healthy balance between green and brown materials and regularly turning the compost, you can prevent rotting food, unpleasant odors, or poor-quality compost.
Weather Conditions
Weather conditions can have an impact on your bucket composting process. During periods of heavy rainfall, excess liquid can accumulate in the bucket, which may hinder proper decomposition. Be sure to use a tight-fitting lid to minimize rainwater entering the container and keep your compost from becoming soggy.
On the other hand, dry weather can also cause issues by depriving the compost of the moisture it needs to break down materials. To combat this, regularly assess the compost’s moisture levels and make adjustments if necessary, either by adding water to rehydrate the mixture or incorporating more brown waste, such as straw or dried leaves, to absorb any excess dampness.
By closely monitoring weather conditions and making necessary adjustments to your five-gallon bucket composting system, you can maintain an ideal environment for decomposition, ensuring a successful and efficient composting process.
DIY Bucket Composting Options
Creating Your Own Bucket Compost System
To begin creating your own bucket compost system, you’ll first need a 5-gallon bucket. Ensure that the lid fits securely and that the sticks or dowel rods fit comfortably in the bottom of the bucket. Next, use a drill and a medium or large drill bit to make air holes in the top, bottom, and sides of the bucket. These holes will promote air circulation and prevent mold growth.
Properly layer your compost materials into the bucket. Start with a layer of dry leaves or small sticks at the bottom. The drainage materials will help keep air circulating and prevent waste from clogging up the holes. Then, add alternating layers of green waste (e.g., coffee grounds, garden clippings, and vegetable scraps) and brown waste (e.g., cardboard, paper, or dry leaves). Make sure to maintain a balanced ratio of greens and browns for optimal composting.
Customization and Upgrades
With a basic 5-gallon compost bucket in place, there are many ways to customize and upgrade your system for improved efficiency and convenience. Here are a few ideas:
- Aeration: Enhance air circulation by adding more holes or using a larger drill bit. You can also purchase a compost aerator tool specifically designed for turning the contents of your compost bucket.
- Moisture Control: If you live in a particularly dry or wet climate, consider covering the air holes with a mesh material to regulate moisture levels and prevent pests from entering.
- Odor Reduction: Add a layer of activated charcoal inside the lid of the bucket to reduce unpleasant odors. This will also prevent animals from being attracted to the smell.
- Temperature Monitoring: Monitor the temperature inside the compost bucket by using a compost thermometer. Maintaining the right temperature ensures that the composting process is efficient and effective.
Keep in mind that your DIY compost bucket setup can be as simple or as advanced as you like. Experiment with different customizations and upgrades to optimize your home composting experience. Just remember to keep the process engaging and enjoyable!